Setting up MetaTrader 4 for backtesting can be tricky, time-consuming, and a little frustrating if you aren’t entirely sure you have it all working properly. This article will guide you through the entire process from obtaining high-quality minute history data to installing a separate backtesting account to importing and converting the tick data to different time frames. In no time you will be up and backtesting years of history data with 90% modeling quality!
Step 1: Download high-quality minute (M1) 99% data tick mt4 history. Try it free for 14 days. Or we can download free MetaTrader history data tick by tick from tickstory this supports mt4 build 425-1350.
Step 2: Download a new installation of Metatrader from Metaquotes.net. This will be your testing version of MetaTrader. Install it in a new folder, making sure not to copy over any existing installations of MetaTrader. I’ve named my new version MetaTrader 4 Tester 2.
Step 3: When the Metatrader installer asks you if you want to launch Metatrader upon completing the installation, choose to NOT launch Metatrader by UNCLICKING the check box. Then select Finish the installation.
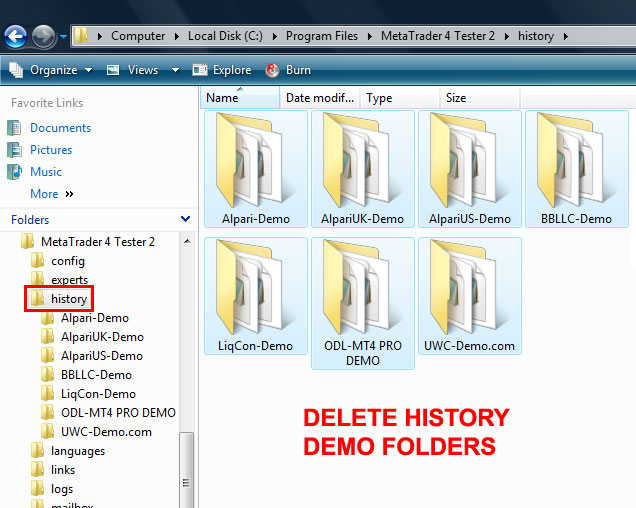
Step 4: After you have finished installing a new version of Metatrader 4, delete all the folders within your Metatrader history folder. To find this folder browse the Metatrader program file where it was installed. This is typically in the directory: Program Files > Metatrader 4 (or whatever you chose to name this) > History.
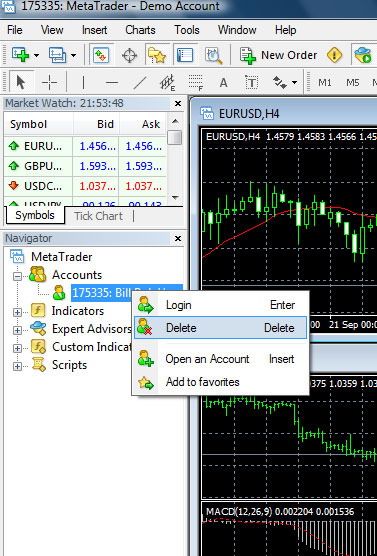
Step 5: Now that you have deleted all of the history files, launch Metatrader 4 Terminal and create a demo account with whatever broker they offer you. You should be prompted to create this demo account when you first open Metatrader. If you are not, don’t worry. Just right-click ACCOUNTS on the center and choose to OPEN AN ACCOUNT.
Step 6: Once your new demo account has been created, you will need to DELETE it. Yes, you read that correctly. We need to delete the demo account we just opened. We do this to prevent the demo account from overwriting the history data that we will be importing in upcoming steps. You are probably asking: Then why did we open this demo account to begin with? The reason is to create a folder structure for all the currency pairs, which we will be importing data into very soon.
Step 7: After you delete your new account, close Metatrader. Now we are going to take the Alpari history data we downloaded and extracted earlier and move it into our MetaTrader Demo account folder. Browse to the history folder within your Metatrader folder as we did earlier. You should see a folder of the demo account we created and then deleted earlier (Note: if you can’t see this folder and you are running Windows Vista, you may need to change some settings in Vista before you can see this folder. You can also skip this step and just import the history files from wherever they currently are in the upcoming steps.)
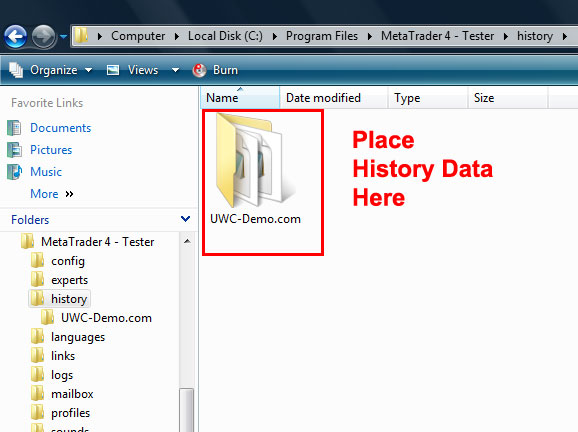
Before we copy over the M1 history data, make sure there isn’t any center over .hst files from your demo account. If there are delete those.

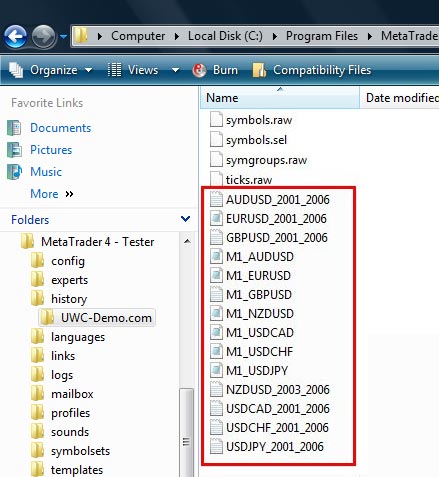
Now copy over all of the history data files to this demo folder. Copy over just the files and not the folder structure so that you end up with all the data files together in the demo folder like this:
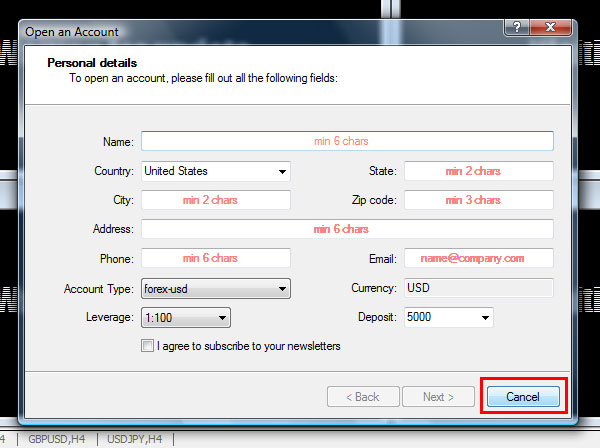
Step 8: Next, re-launch the MetaTrader terminal. From now on, every time you launch Metatrader, you will be prompted to “Open An Account”. Choose CANCEL each time you are asked this in the future.
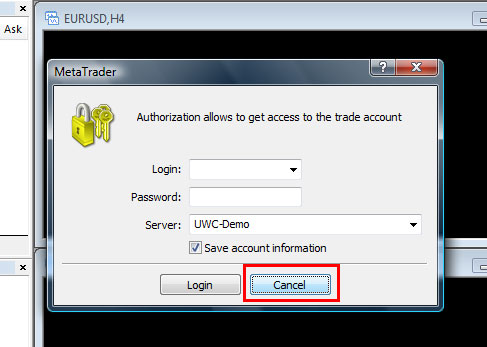
You will also be asked to log in to your account. Click CANCEL for this one each time too.
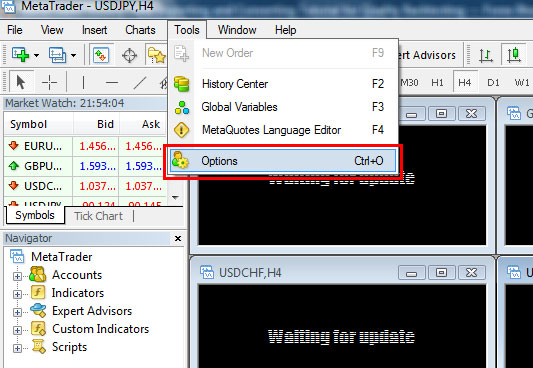
Step 9: Now we need to change the chart settings to their maximum values so that they can hold all the tick data we will be importing. With Metatrader open, select TOOLS > OPTIONS.
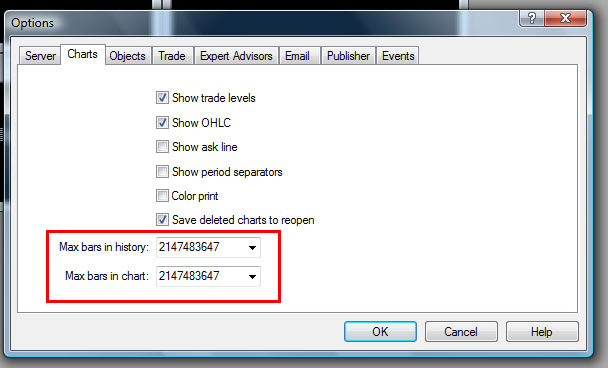
Choose the CHARTS tab and edit the “Max Bars In History” and “Max Bars In Chart” to their maximum values by entering as many ‘9’s as it will let you. Click OK.
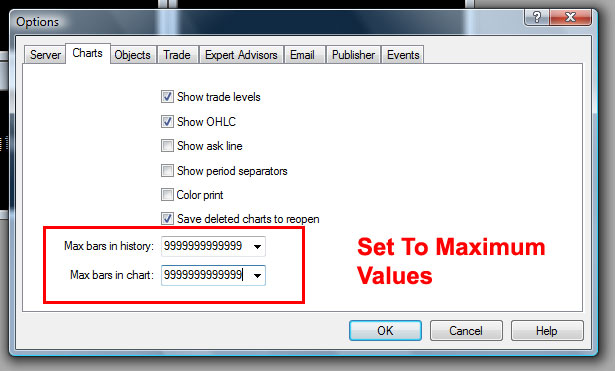
The next time you open this options menu these max values will be readjusted to the highest number of bars allowed:
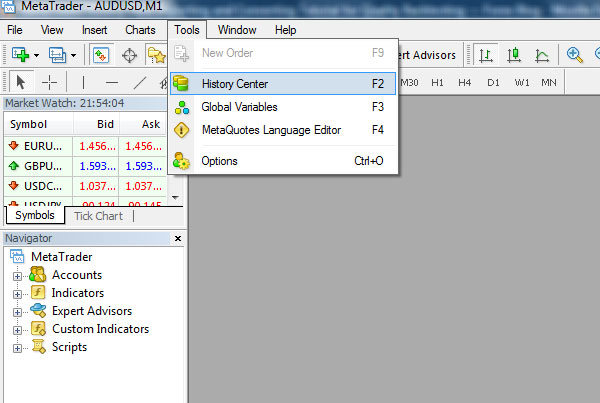
Step 10: Next, go to TOOLS > HISTORY CENTER (or press F2 for the shortcut).
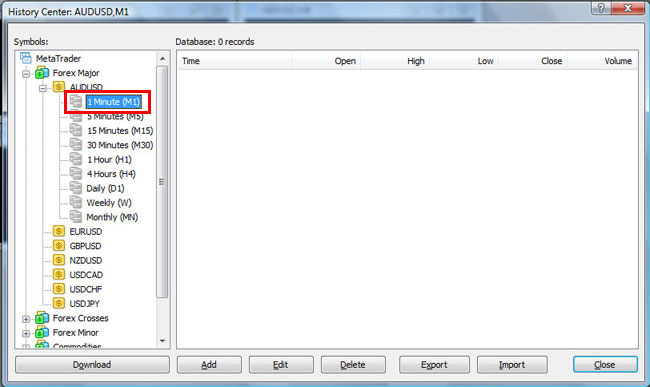
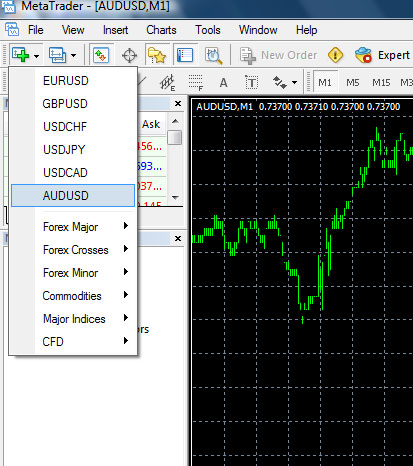
On the center-hand side find the currency pair that you want to import data for. We have chosen AUDUSD. Expand the menu so that you can see the different time frames. They should be grayed out at the moment. Double-click on the 1-minute timeframe of your pair to select it. It will stay grayed out, but you need to double-click it so that we can import the minute data.
Step 11: Click IMPORT. Then click BROWSE and go to the Metatrader > history > demo account directory where we placed the minute data earlier. Select the minute data and open it. You may need to change the File Type from ASCII Text to All Files so that you can see the data to open.
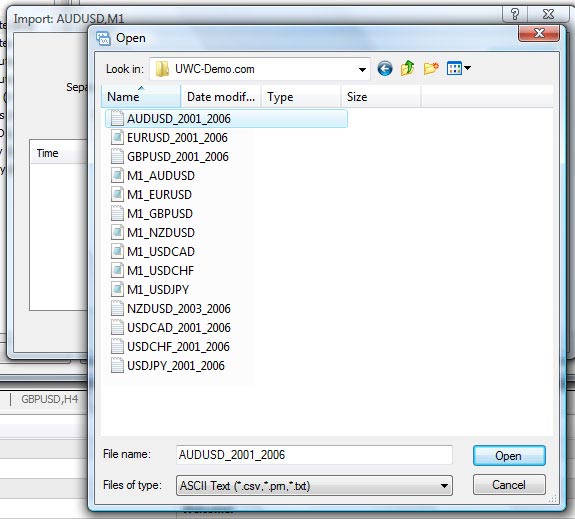
You should see the data populate the import box. It may take a few moments to load. If it still doesn’t load, you may need to enter a ‘1’ for Skip Columns. Or if the data is not separated by commas, change it to whatever format it is in. For ours, the only thing we changed was Skip 1 Column. Once the data is loaded, hit OK.

Because the data is separated into 2 files of different time periods for each pair, you will need to import each file as we did above. So, after we import the data for AUDUSD 2001-2006, we will import again for the other AUDUSD file “M1_AUDUSD”. Once we complete this, we will have a complete time period from 2001 to 2009.
Repeat these steps of importing data for each pair. Once you have finished, hit OK to exit the History Center.
Step 12: Open a chart for a pair that you imported data into. Select the Minute timeframe (M1) at the top. You should see a chart of the minute data for the time period that you imported. All other time frames should still say “Waiting for update” because we still have to convert the minute data into all those time frames.
Step 13: Converting The Data – From the Navigator window on the center, expand SCRIPTS and open period_converter. (TIP: Make sure you have the EXPERTS tab selected at the bottom of the terminal so you can view the status of this script.) You will need to convert the minute data to each time frame by changing the ExtPeriodMultiplier value and running the script. M1 is already done, so let’s start with the 5-minute. Enter 5 for M5 and click OK.
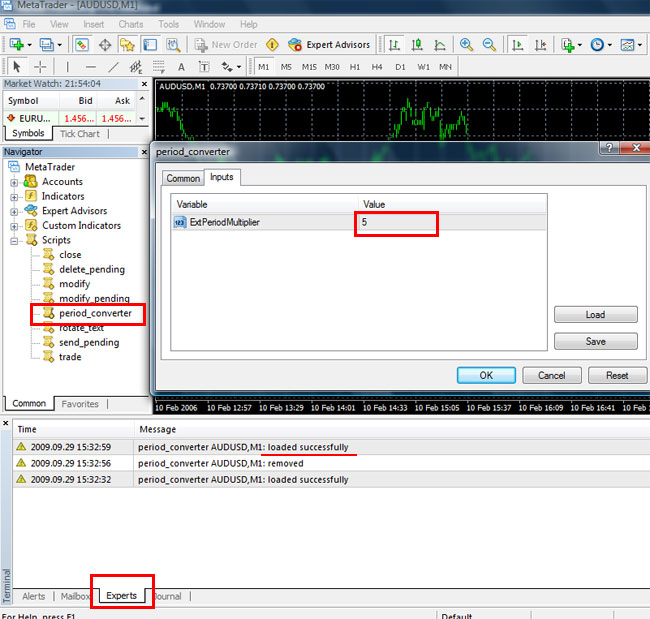
You will know it has finished converting when the EXPERTS tab displays a message that it has written the records.
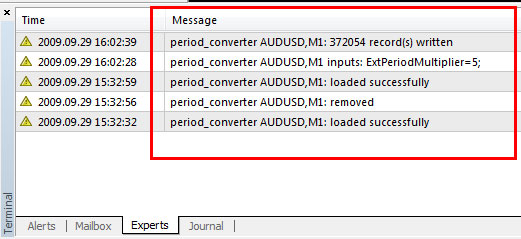
Open period_converter again. It will ask you: “Do you really want to stop period_converter”. Choose Yes and repeat for the following time frames: Enter 15 for M15, 30 for M30, 60 for H1, 240 for H4, 1440 for D1, and 10080 for W1.
Step 14: Repeat the above steps for each currency pair.
Step 15: Phew! That’s it. Now that you have your history data all set up, you are ready to Start Backtesting With MetaTrader’s Strategy Tester >
I hope this article about how to get a high percentage back testing quality can help us for testing any ea before we run on our real money.


